Thanks to Michelle and Camella who posted this tutorial originally here.
MATERIALS
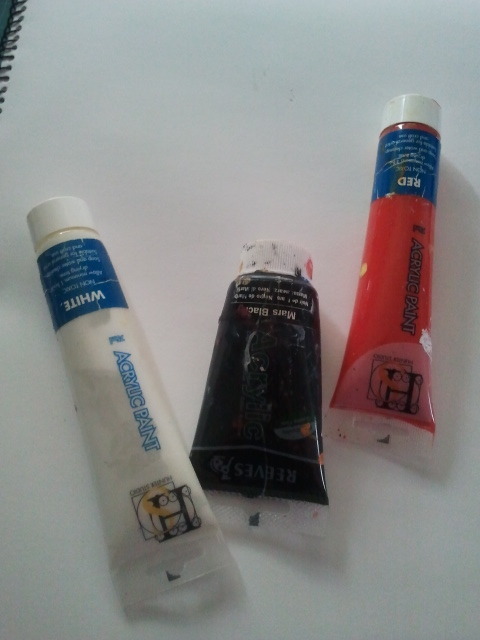
- Acrylic paint (red, black and white)
- Paintbrushes (thick ones are best)
- Newspaper
- Sticky Tape
- Transparency sheet
- Logo image
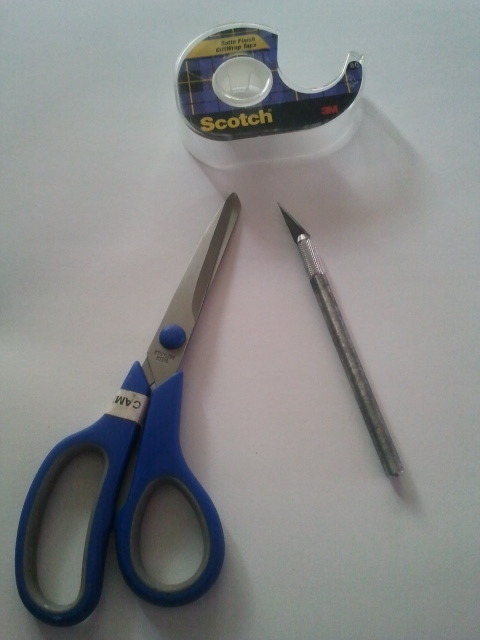
- Scissors or stencil knife
METHOD
Step 1:
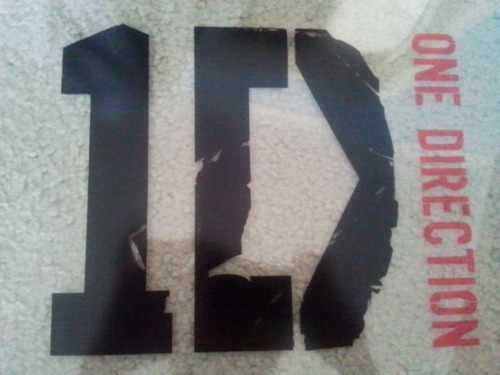
Get your chosen logo from here http://promoshq.wildfireapp.com/website/6/contests/174021
(We chose logo 3
g)
Step 2:
Copy Paste the chosen logo and paste it on Microsoft Word ( The Orientation of the page is Landscape)
Step 3:
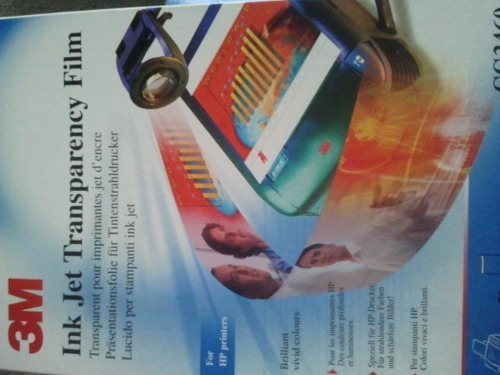
Get a Transparency Film sheet and put it in your printer (This is the one we used)
Step 4:
and then just print it out on it, It should look like this:
Step 5:
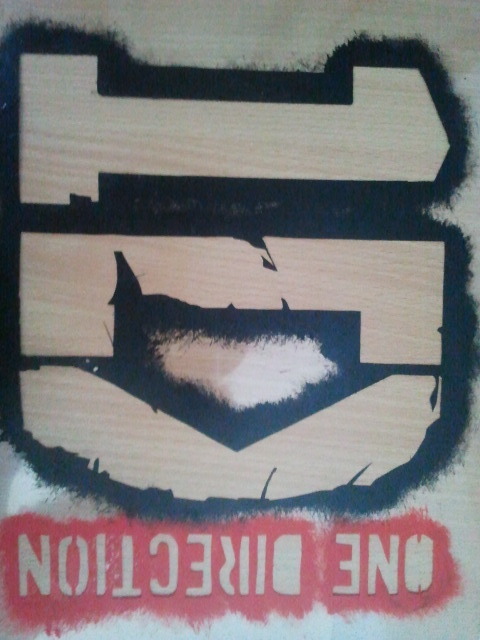
Cut out the stencil using scissors/stanley knife. Remember to cut it neatly for a better result! We used a
stanley knife first to cut a but off the particular word and then used the scissors for a steadier cut.
Step 6:
Then get your top and put newspaper in the inside of the top so the paint doesn’t go through to the
other side
Step 7:
Get your cut out stencil and place it on the top however you like it and put sticky tape at each end or
wherever until it’s secure
Step 8:
Get your Acrylic paints out (It’s best to use this type because it dries faster and gives a better result)
Step 9:
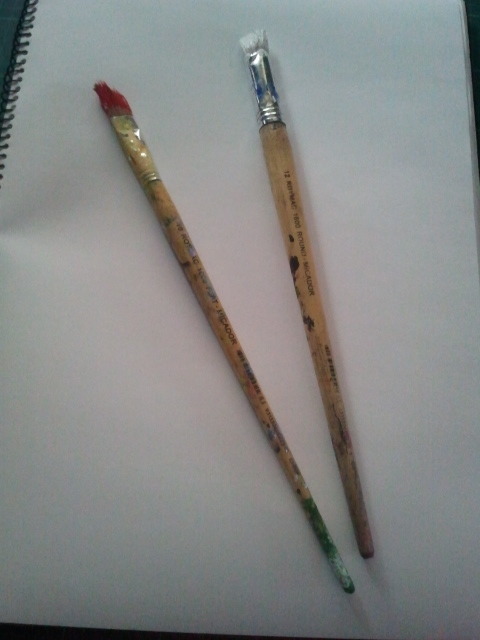
We used these paintbrushes below (the thicker the brush the better and quicker)
Step 10:
Dab the paintbrush onto the stencil until all areas are covered with paint (Like the picture below)
NOTE: YOU HAVE TO DAB SO THE STENCIL WON’T MOVE!
Step 10:
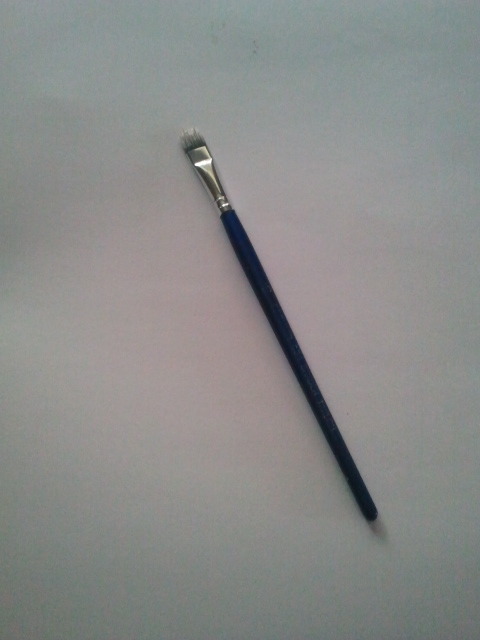
Use a smooth brush to smooth out the paint if you want too (We did)
Step 11:
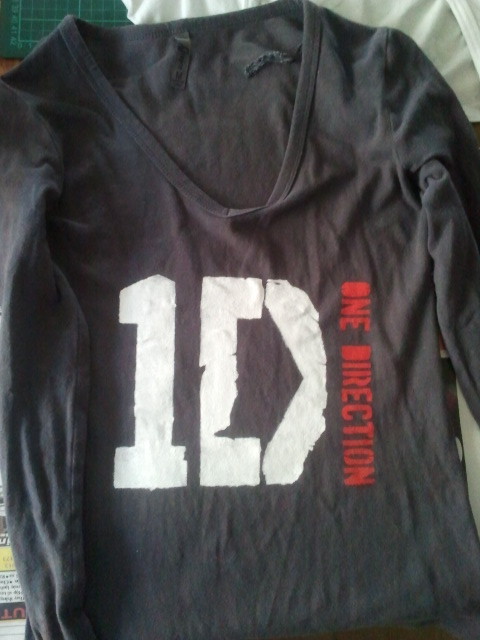
Wait for the paint to dry and then pull off the sticky tape and DONE! It should turn out like these ones:

Step 12:
Remember before putting it in the wash put a cloth on top of the painted areas and iron it. This will
prevent the paint from fading away when you put it in the wash! :)
Whoa! That's super cool! We should try it!
ReplyDelete