Showing posts with label crafts. Show all posts

Monday, May 26, 2014

DIY Sandals

Hi everyone :) I'm not sure if I posted this before, but I really love the idea, so I thought I would post it anyway, whether you've seen it before on this blog or not. Here are some super cute DIY flip flops that are perfect for the beach or a summer date. If anyone wants to make me a pair of these, please feel free!
Love, July


Monday, May 19, 2014

DIY Skirt to Shorts

Hey Cliquers! This is a super fun, easy idea on how to turn an old skirt into one of those pairs of shorts that still make it look like you're wearing a skirt. I have not tried this yet because I don't really have any extra skirts lying around at the moment, but I may just have to go out thrifting for one so I can give it a whirl. It's perfect for summer I think!
Love, July

*Source

Wednesday, May 7, 2014

How to Make a Camera Strap From a Scarf


Hello readers! This spring and summer, I'm sure you'll all want to find your place in the photography fad like every other teenage girl in this lovely planet called earth. I highly recommend trying your eye for capturing the best snapshots of nature, people, or whatever else makes your heart beat. When you go out for your shoots, do it in style with this camera strap from a scarf. Here's how you can make your own!
-July

Supplies: scarf, 2 split rings, 2 chain closures, scissors, sewing machine OR needle/thread, scrap of leather, pen

Step 1Draw your shape on the leather with a pen making sure the smallest point at the fold fits through the split ring. You'll be folding it over, so mirror one side to the other and trace it. 
Step 2: Cut the leather on the folded line.
Step 3: Repeat to create two of these leather pieces.
Step 4: Connect the chain closure to the split ring.
Step 5: Slide the ring to the middle section of the leather.
Step 6: Fold the end of the scarf in an accordion fold, small enough so that it fits into the leather.
Step 7: Stick the leather to the scarf in place.
Step 8: With your sewing machine, stitch around the edge of the leather (as indicated in the picture)
Make sure you have a special needle that works for leather. Otherwise, hand stitch it.


Wednesday, August 14, 2013

DIY Lampshade

Hey! How are y'all? Here's a sweet lampshade that you can make all by yourself by just poking holes in a lampshade! What I think is cool about this is that you can do whatever design you want, but the skyline on this one is awesome :) I don't know about you, but I'm gonna make myself one ASAP!
July


Friday, July 12, 2013

Ombre Knotted Bracelet

Hello! How might all the cliquers be? How's summer? Anyway, here's a sweet bracelet that would look really cool with just about anything!
July


Sunday, June 30, 2013

Tie Dye Swimsuit Cover-Up


Hello! It's July again and since it's summer, here's a cute swimsuit coverup that you can make by yourself!


Before & After
Supplies needed:
A white t-shirt (I bought a large, and I usually wear a medium t-shirt)
Tie Dye kit
Needle & thread

You can tie dye your shirt however you want, but if you want a spiral effect like mine, here are the steps!
1. Pinch your shirt wherever you want the center of your swirl to be.
2. Swirl your shirt around your pinch until it’s compact.
3. Divide your shirt into 6 sections with 3 rubber bands.
4. Squirt your dye in each section. Try not to overlap your colors.
5. Place shirt in a plastic bag for about 8-14 hours.
6. Rinse shirt in the bathtub.
7. Wash your shirt by itself on hot in a large sized load.

As for the braided racer back steps:
(adapted from TheSorryGirls on Youtube)
Lay your shirt out flat.
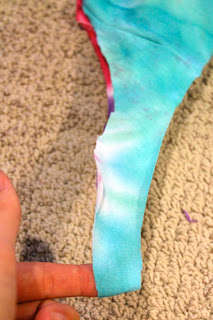
1. Starting about 1 ½ inches below the bottom of your sleeve, cut one sleeve off of your shirt, creating a U-shape.
2. Use your cut-off sleeve as a pattern to cut off your other sleeve. (Save those sleeves for later!)
3. Flip your shirt over so the back is face-up. Cut the back sleeves of your shirt, making the holes bigger ONLY in the back, making a wide racer-back shape.
4. Now, flip your shirt back over and cut off your collar. At first, I only cut about a 1-inch collar off, but I ended up cutting it more. So, I would recommend cutting about a 2-inch collar.
5. Flip to the back of the shirt again. Cut a straight line right below your collar, cutting your racer back off.
6. Divide and cut your loose piece of racer back fabric into 3 strips. Tug on the strips to make them longer and easier to braid.
7. Braid your 3 strips all the way to the top. Sew a few stitches at the end of your brad to hold it together.
8. Now take your collar and fold it in half to find the center. Make a small mark where the center of your collar is.
9. Make a few stitches connecting your braid to the center of your collar.
10. Now cut a strip of fabric from one of your cut-off sleeves, about 1 ½ inches wide and 4 inches long. You can pull on both sides of it to make it longer.
11. You’re going to use this fabric to cover your stitching. Stitch the end of the strip to the connection, and wrap it around covering your previous stitching. Connect your fabric at the end to complete your shirt!
There you are- your own tie dye swimsuit cover-up!

Monday, May 6, 2013

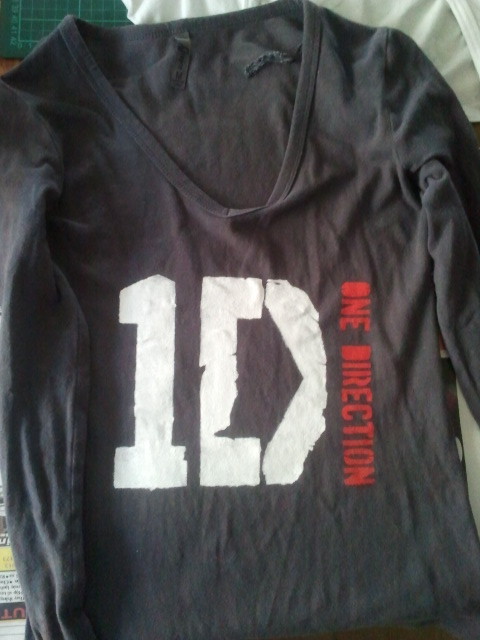
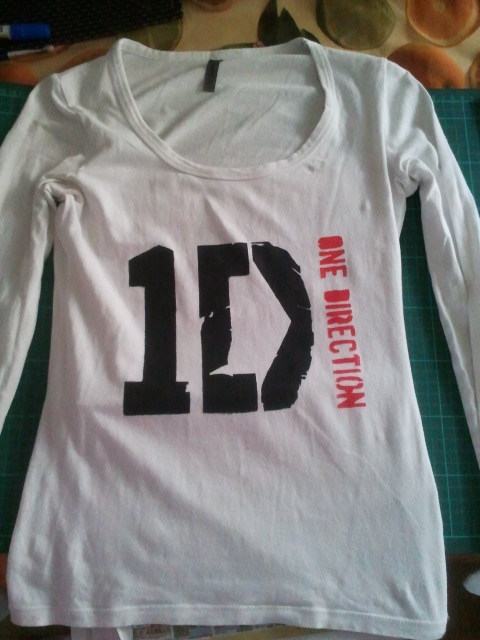
How To Make A One Direction T-Shirt

Hello, lovelies! I was browsing around the internet, and came across a tutorial for making a One  Direction logo T-shirt. I've yet to try this out, but I hope to someday. Let me know how it goes for you!

Thanks to Michelle and Camella who posted this tutorial originally here.


MATERIALS

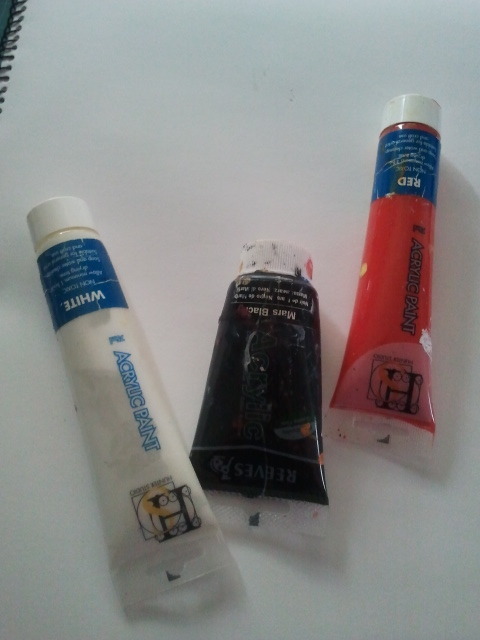
- Acrylic paint (red, black and white)
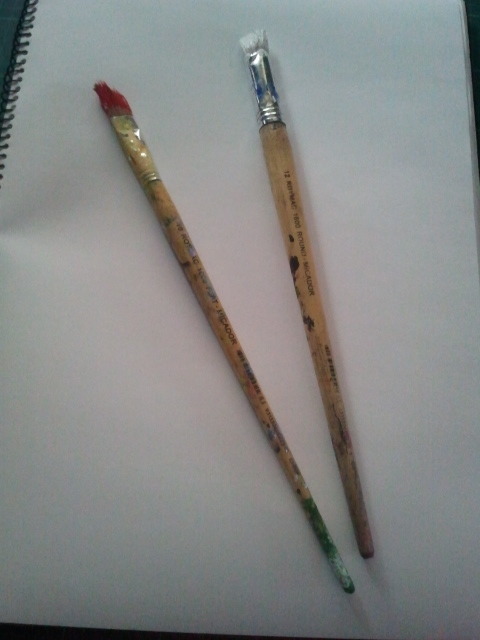
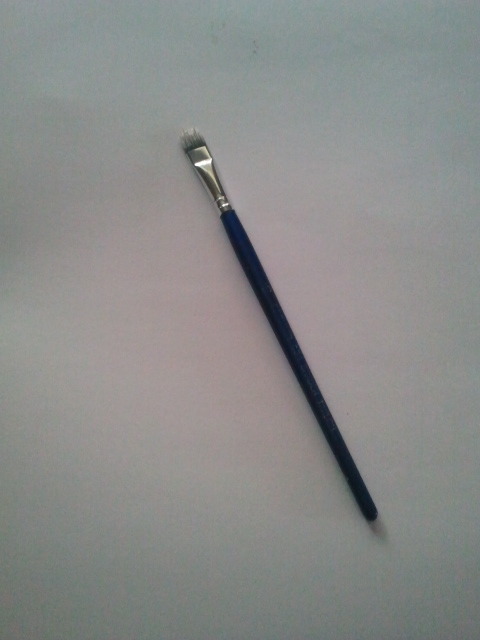
- Paintbrushes (thick ones are best)
- Newspaper
- Sticky Tape
- Transparency sheet 
- Logo image
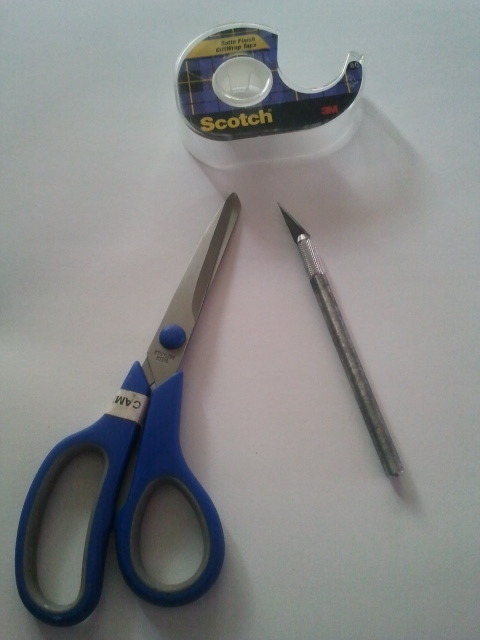
- Scissors or stencil knife

METHOD

Step 1:
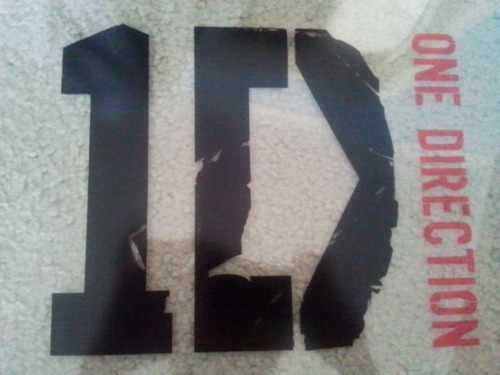
(We chose logo 3 
g)

Step 2:
Copy Paste the chosen logo and paste it on Microsoft Word ( The Orientation of the page is Landscape)

Step 3:
Get a Transparency Film sheet and put it in your printer (This is the one we used)
Step 4:
and then just print it out on it, It should look like this:
Step 5:
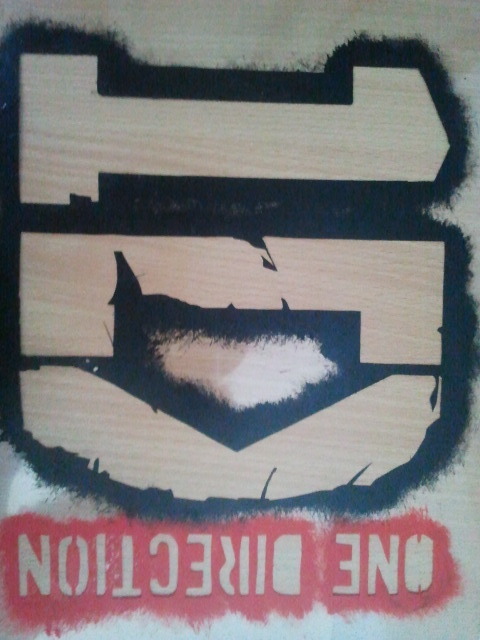
Cut out the stencil using scissors/stanley knife. Remember to cut it neatly for a better result! We used a 
stanley knife first to cut a but off the particular word and then used the scissors for a steadier cut.
Step 6:
Then get your top and put newspaper in the inside of the top so the paint doesn’t go through to the 
other side 

Step 7:
Get your cut out stencil and place it on the top however you like it and put sticky tape at each end or 
wherever until it’s secure

Step 8:
Get your Acrylic paints out (It’s best to use this type because it dries faster and gives a better result)
Step 9:
We used these paintbrushes below (the thicker the brush the better and quicker)
Step 10:
Dab the paintbrush onto the stencil until all areas are covered with paint (Like the picture below) 
NOTE: YOU HAVE TO DAB SO THE STENCIL WON’T MOVE!
 
Step 10:
Use a smooth brush to smooth out the paint if you want too (We did)
Step 11:
Wait for the paint to dry and then pull off the sticky tape and DONE! It should turn out like these ones:
Step 12:
Remember before putting it in the wash put a cloth on top of the painted areas and iron it. This will 
prevent the paint from fading away when you put it in the wash! :) 

Friday, April 26, 2013

Earbud Bracelet

Hey! July here. I found this on Pinterest as well (I'm so glad Seana finally convinced me to get one!) and I thought it was cool although I'm not sure why you would want to destroy two perfectly good pairs of earbuds....
Some things are a little unclear in this picture, but I would say that they used two pairs of earbuds and if you didn't know, they used a pencil to string it on :)
It's also unclear to me how they tied it, but I'm pretty sure that wouldn't be too hard to figure out.
-Julyabelle

Source